Table of Contents
Citadela Listing Subscriptions is a feature that allows any visitors of your website to purchase a simple subscription and register into your directory portal. With a valid subscription, they are allowed to create, edit or remove their own Listing Items. Payments, orders, invoices, and subscriptions are fully integrated with the WooCommerce plugin.
Citadela Listing Subscriptions feature is based on WooCommerce Subscriptions plugin, that is modified to allow connection of Citadela Listing items with WooCommerce shopping process. You do not need to purchase and install WooCommerce Subscriptions plugin as this functionality is already included in Citadela Listing plugin.
Please do not use WooCommerce Payments plugin as it is not compatible with the bundled WooCommerce Subscriptions plugin that is included in Citadela Listing. Installing WooCommerce Payments plugin will cause PHP errors on your website.
You can learn here:
How to setup Directory Subscription
Before you can start using Directory Subscriptions it is necessary to configure the WooCommerce plugin. For all details please read the official WooCommerce documentation.
Please bear in mind that the following quick guide does not cover all WooCommerce configuration options. This documentation is written to help you speed up the setup process.
Enable Subscriptions feature in Citadela Listing
You need to enable Subscriptions functionality in the Citadela Listing plugin. Simply navigate to Citadela Listing -> Subscriptions, check the Enable Subscriptions checkbox and click Save Settings.
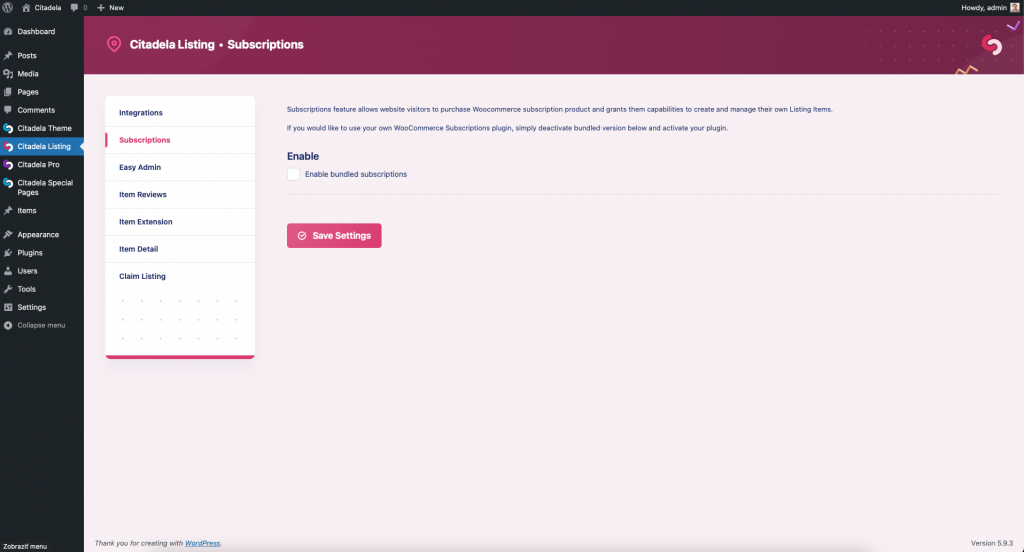
This will give you notification that you need to install & activate the WooCommerce plugin. Click on the provided link and wait until WooCommerce is successfully downloaded.
Configure WooCommerce plugin
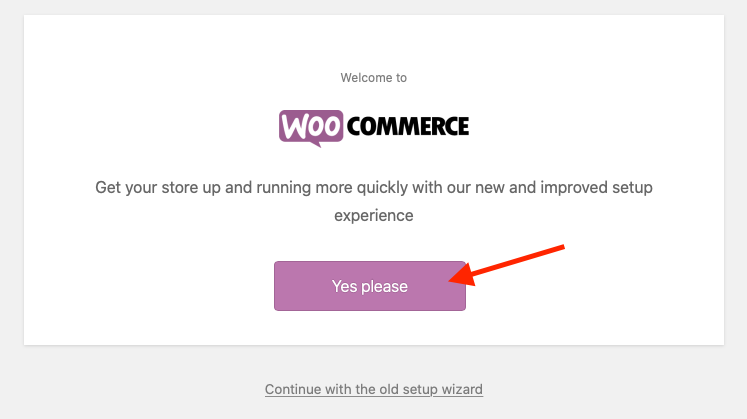
After clicking on the “Activate plugin” button you’ll get the first screen where you should click the “Yes please” button.
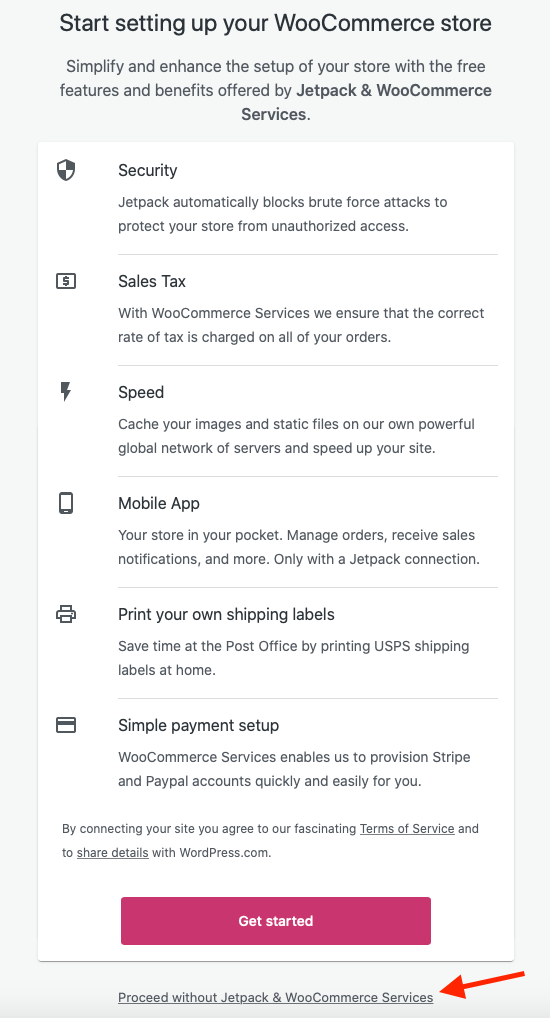
On the second screen click on the link “Proceed without Jetpack & WooCommerce Services”. After that, you get a popup with the option to help WooCommerce with your stats. You can decide for yourself if you wish to participate in it or not.
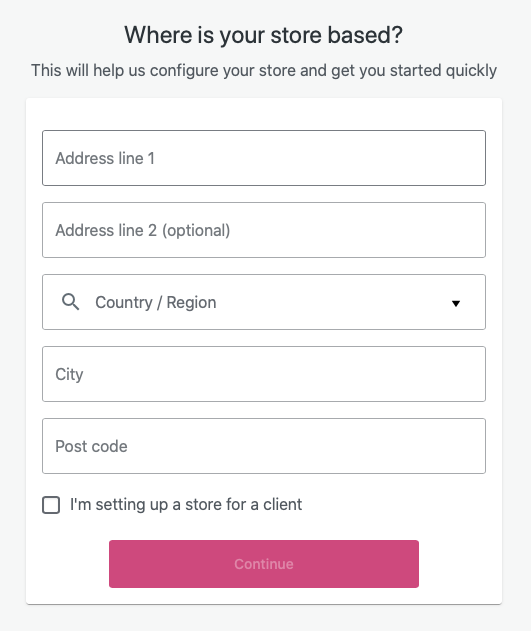
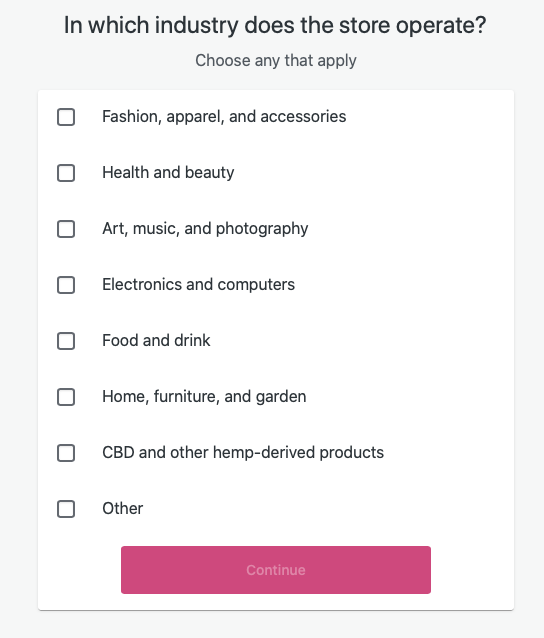
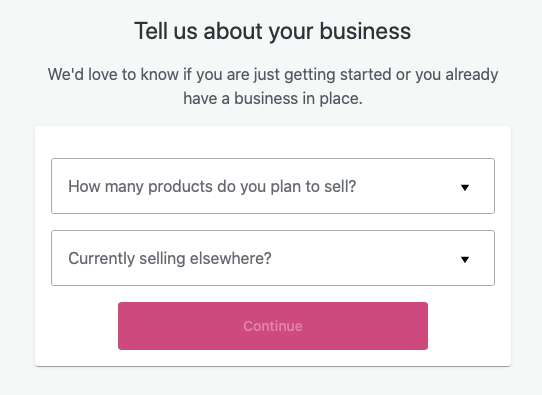
On the following screens you set up information about your online store:
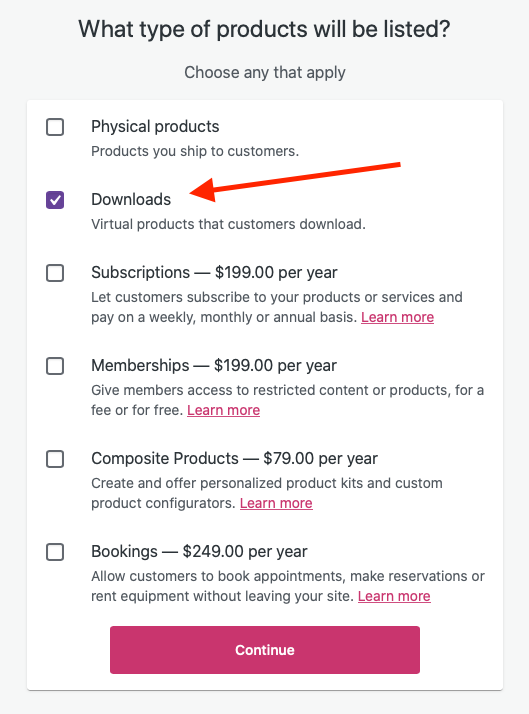
In the last step, you’re asked which products you will be selling in your store. Simply select “Downloads” and click the Continue button.
Do not select “Subscriptions” as this functionality is already included in Citadela Listing plugin.
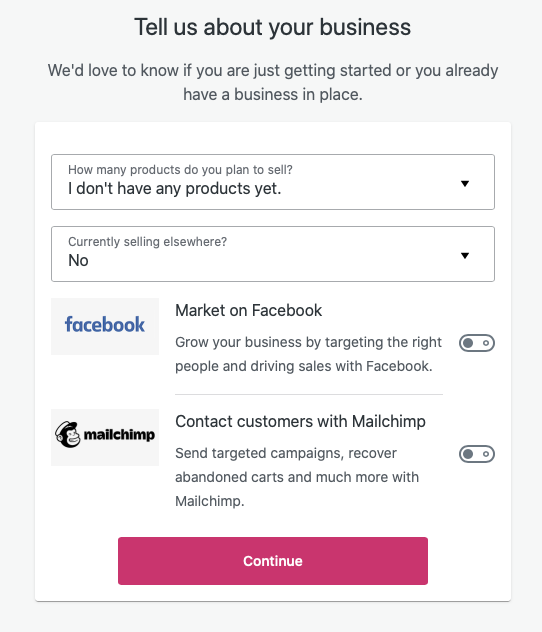
On the next screen just select what you want and click the “Continue” button.
On the next step for an unknown reason, WooCommerce decides to offer you its own themes. Simply click the “Continue with my active theme” button to continue using Citadela.

After initial configuration it is also important to set these options:
Configure Accounts & Privacy Settings
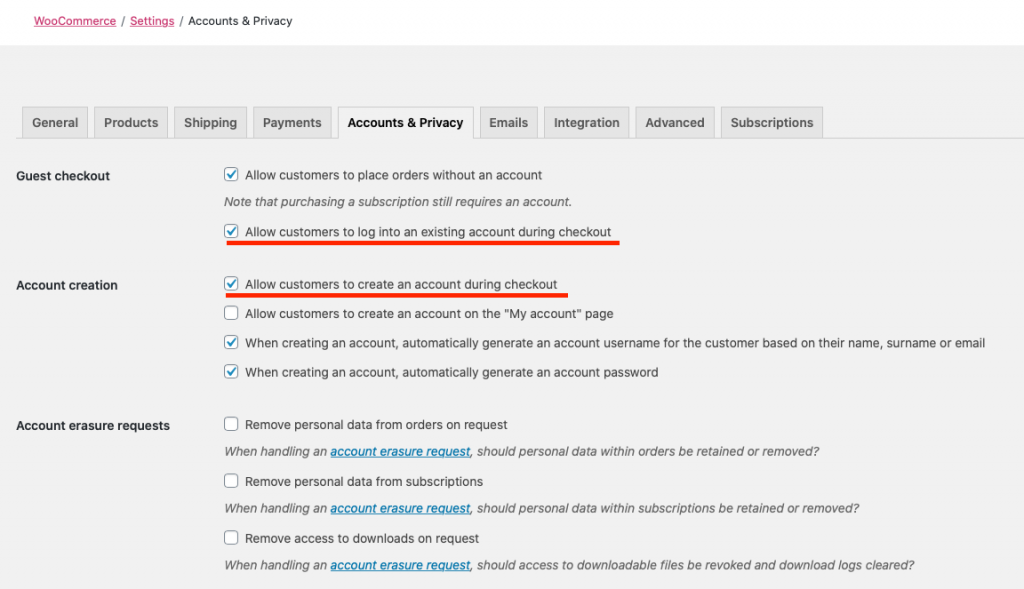
Enable these 2 options on WooCommerce Settings / Accounts & Privacy settings page:
- Allow customers to log into and existing account during checkout
- Allow customers to create an account during checkout
Create WooCommerce Subscription Product
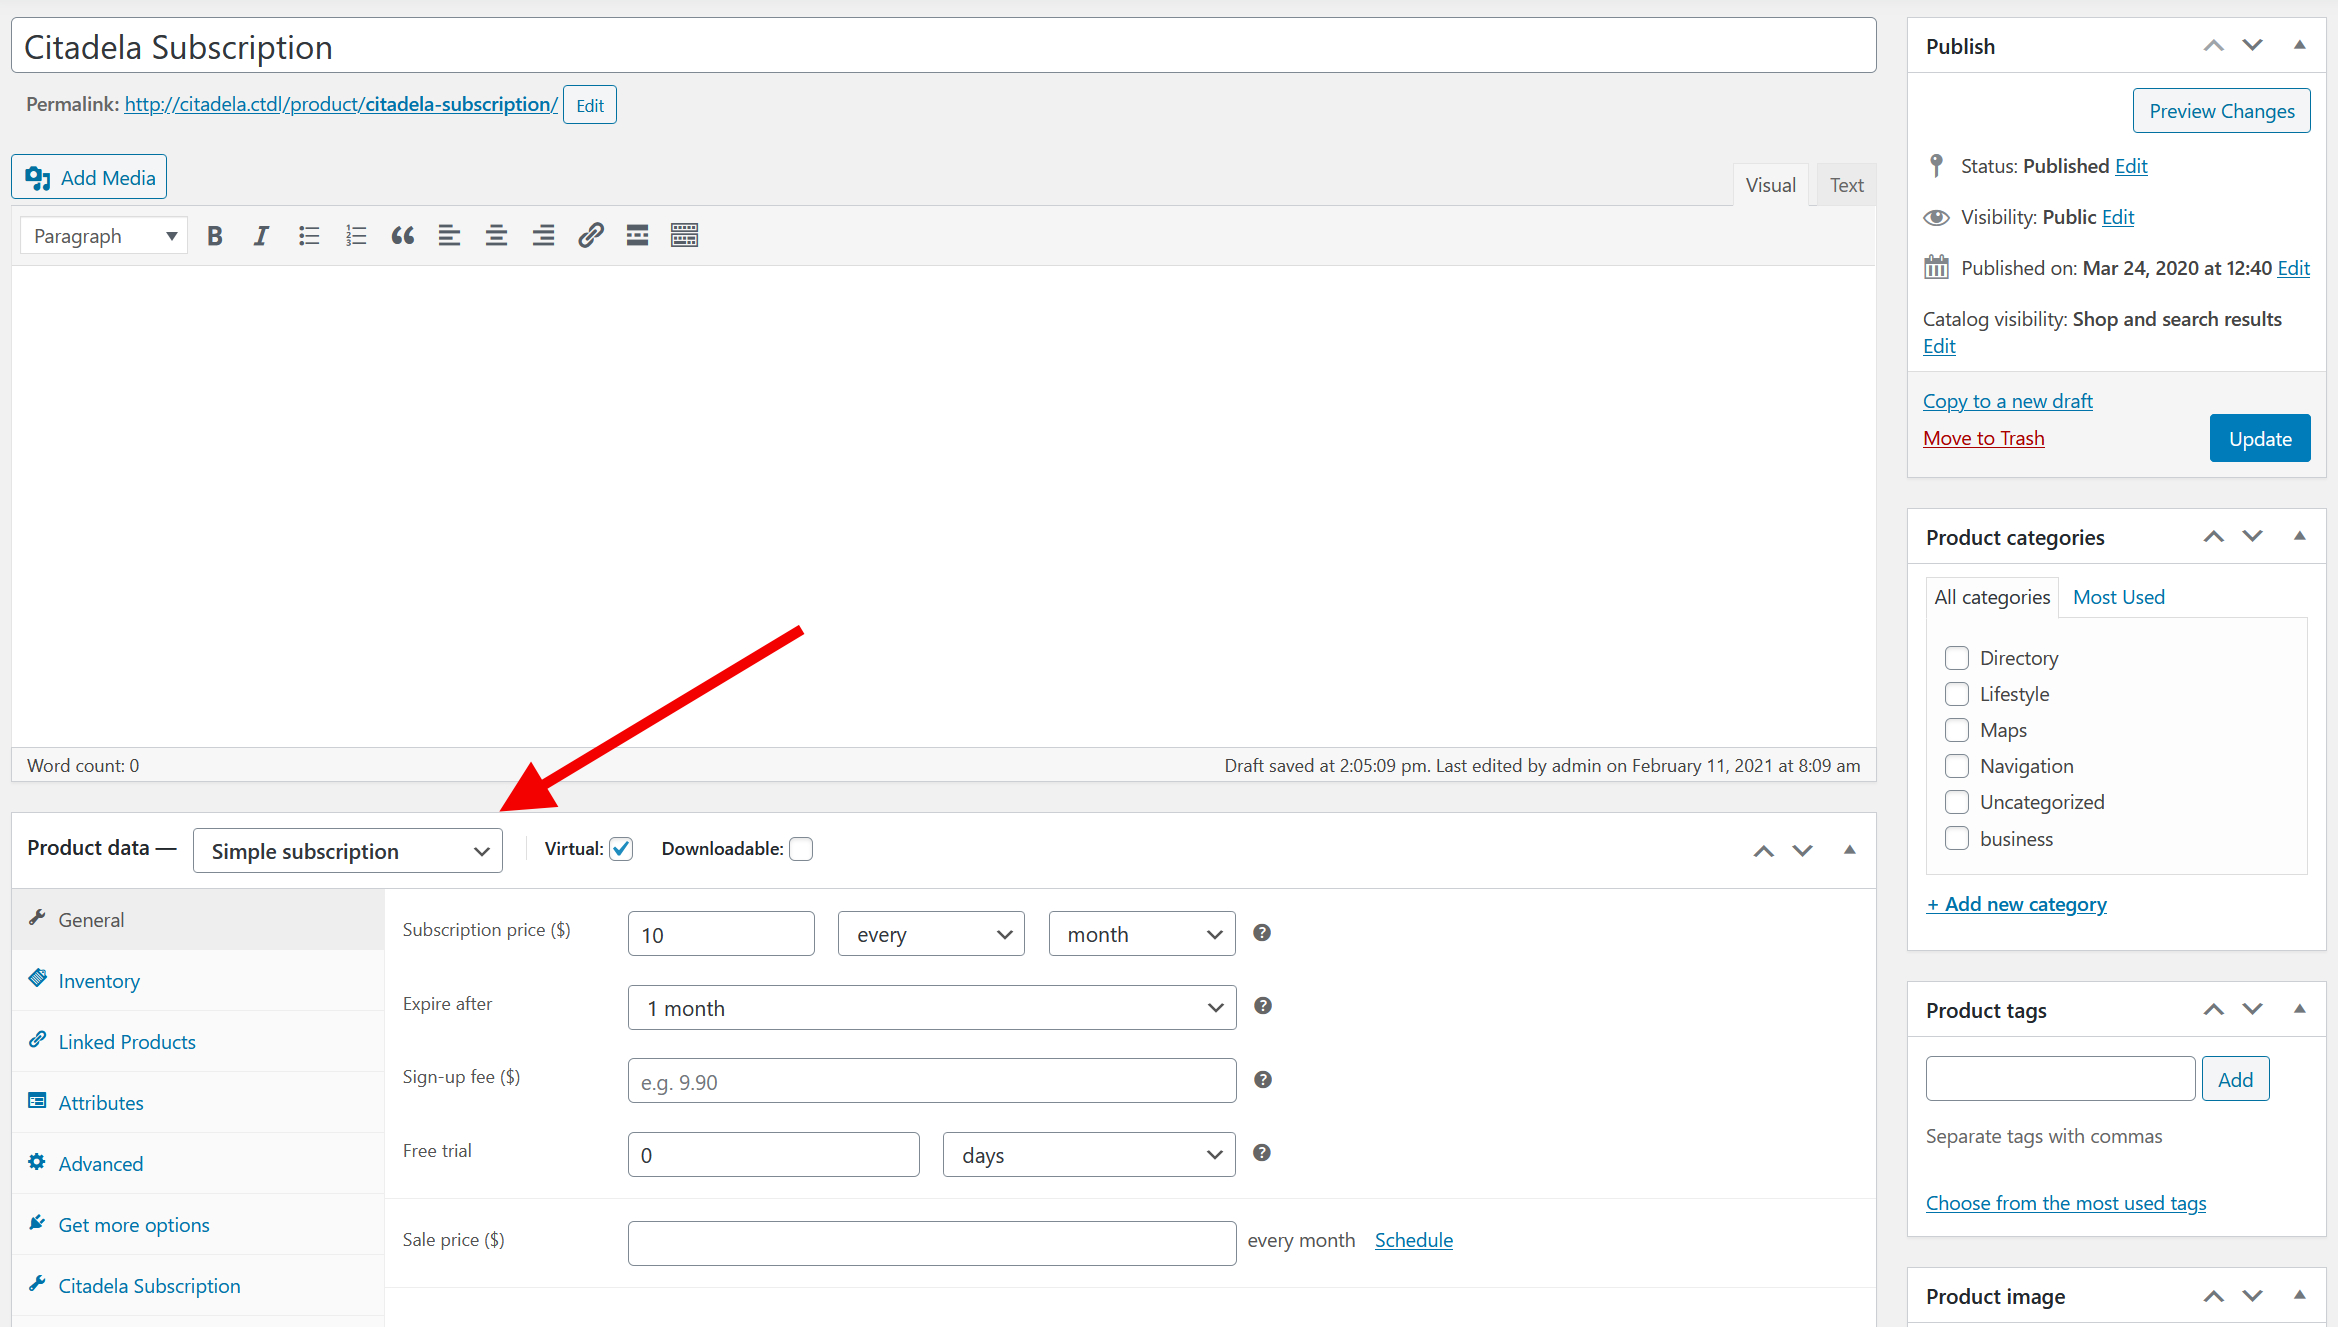
You can create as many Directory Subscriptions as you want via WooCommerce Products with the following parameters:
- Product Type: Simple Subscription
- Virtual Product (shipping makes no sense for subscription products)
- Subscription price (set the recurring price and billing period)
- Expire after (subscription will expire after this period and user won’t be able to prolong his subscription)
- Sign-up fee (one-time fee during the checkout process)
- Free trial (the first recurring payment will be postponed until end of trial perios)
- Inventory / Sold individually (it makes no sense to sell multiple Directory Subscriptions to single user)
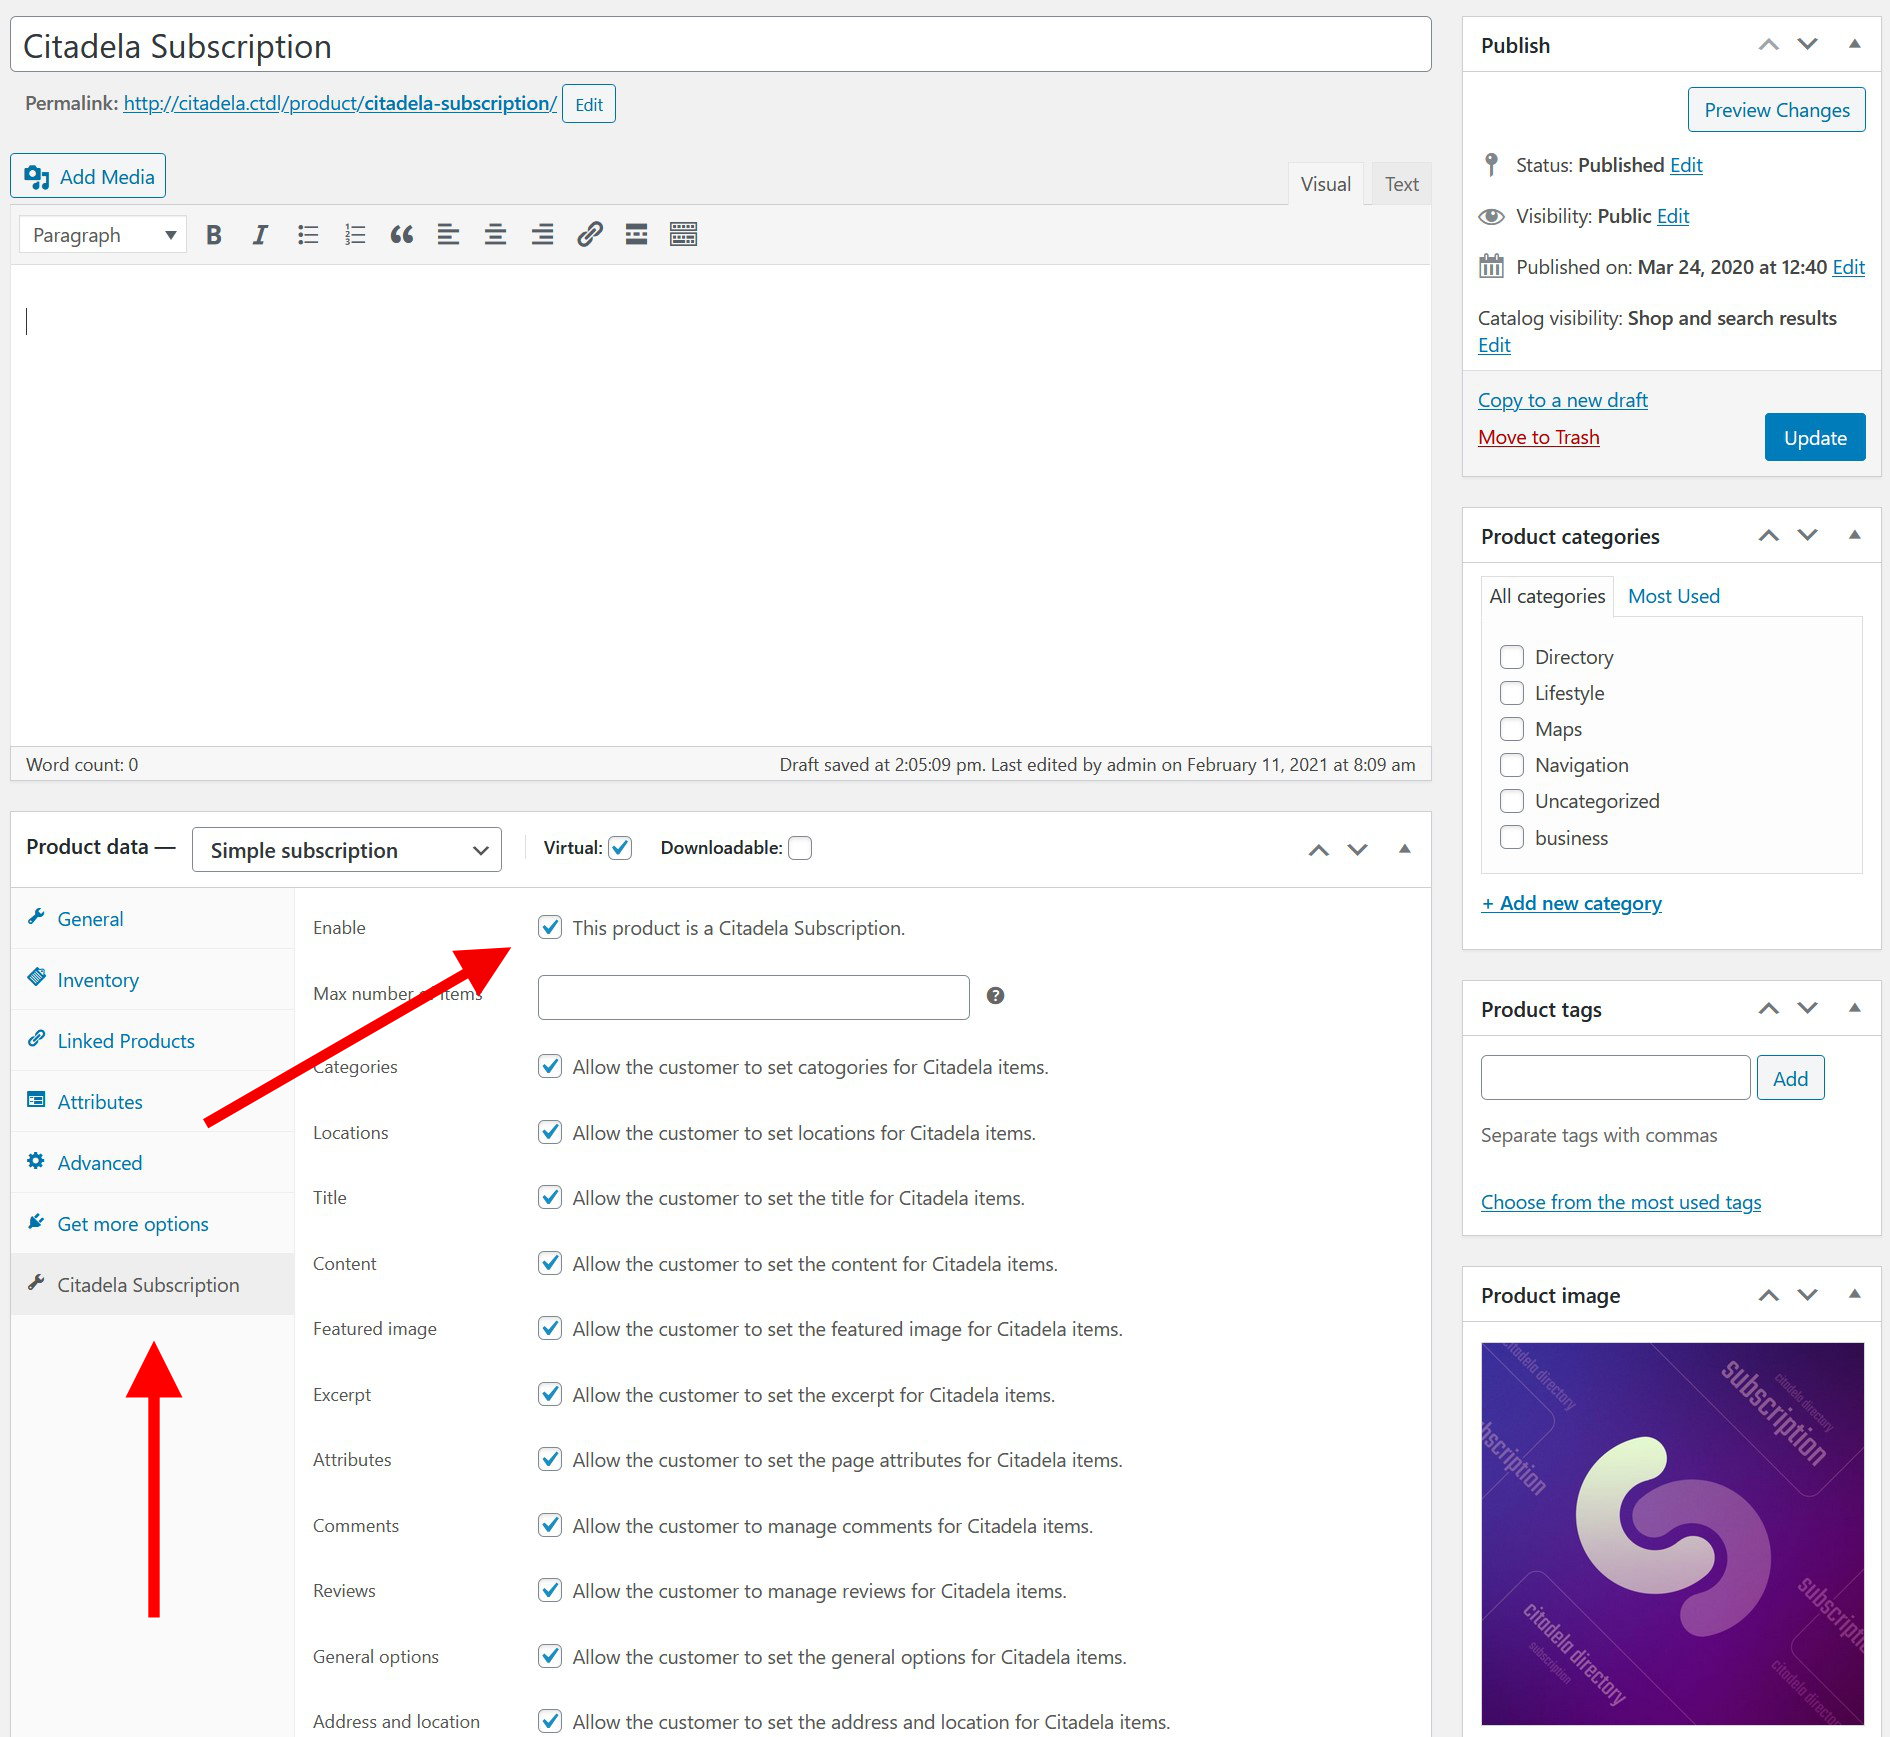
The second step is to check the Omogućiti checkbox on the Citadela Subscription tab, set the maximum number of items for this subscription and appropriate permissions:
Lifetime Subscription with single payment
If you set the Subscription price to $0 (recommended with a long billing period as possible) and the Sign-up fee to any value (this will be the price of a lifetime membership) you can achieve a possibility to sell a lifetime subscription with a single payment. Please note that it is only a workaround and the user will still receive an invoice with a $0 price according to the billing period.
What to do next?
If you’re have done all previous steps you have successfully installed the WooCommerce plugin and configured Subscription products. Subscription products you have just created are like any other products in WooCommerce. You can display them on any page using WordPress editor blocks. It’s up to you how you use it.
How to enable payments?
As the Citadela Listing plugin works directly with the WooCommerce plugin, you can use any available payment gateways that work with WooCommerce. As this is a very complex topic, please check the official documentation za više informacija.
How does the item owner access administration?
During the WooCommerce plugin installation, the My Account page is automatically generated. Item owners will use this page as an entrance. After the customer has gone through the subscription purchase process, he stays logged in on that My Account page. That can be used as the entrance for returning item owners.
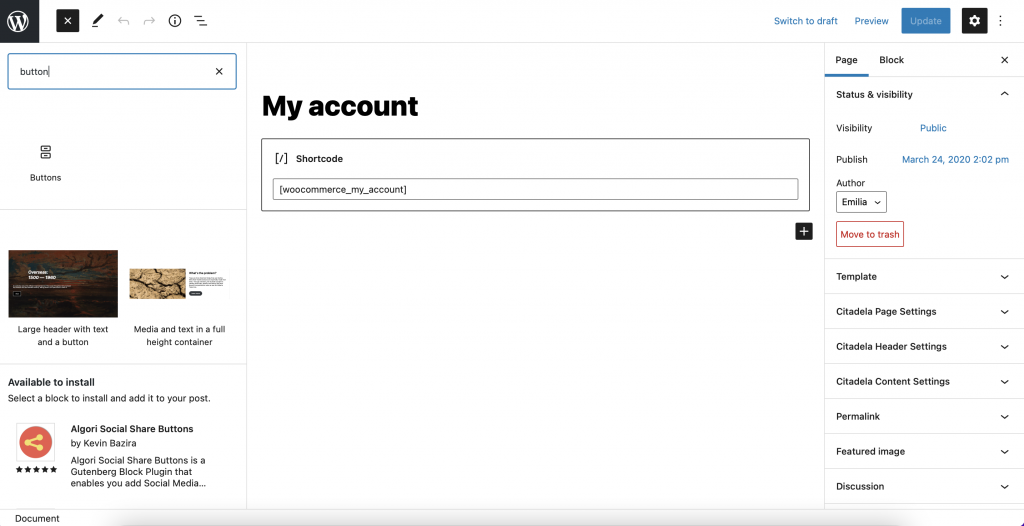
The My Account page appears under the Pages area. You can edit this page in Gutenberg editor and ad some blocks. You can link from this page to the administration. It doesn’t matter if you use a classic WordPress administration environment or our Easy Admin.
We recommend to activate Jednostavna administracija feature so your customers have nice environment.
Customize My Account Page
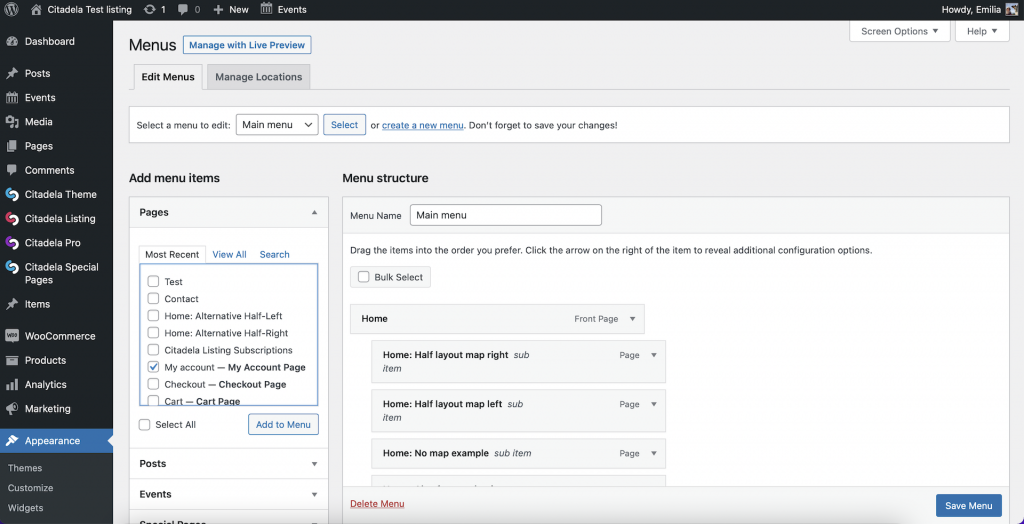
Here, on that My Account page (edit through Pages area), you can add some text to explain your user what they can do. So add some columns, paragraph, etc. Also, you can add Button block to connect My Account page with WP administration. We recommend to add My Account link into navigation menu. (Appearance -> Menus).
- All Items – item owner can see all his items
- Add New Item – item owner can add new item
- Media – item owner can see media section
- Profile – item owner can edit his profile
You can copy the appropriate URL from your WP administration directly. The link remains same for each user.
Item URL will looks like yourdomain.com/wp-admin/post-new.php?post_type=citadela-item
All Items
/wp-admin/edit.php?post_type=citadela-item
Add New Item link
/wp-admin/post-new.php?post_type=citadela-item
Media library
/wp-admin/upload.php
Profile
/wp-admin/profile.php
